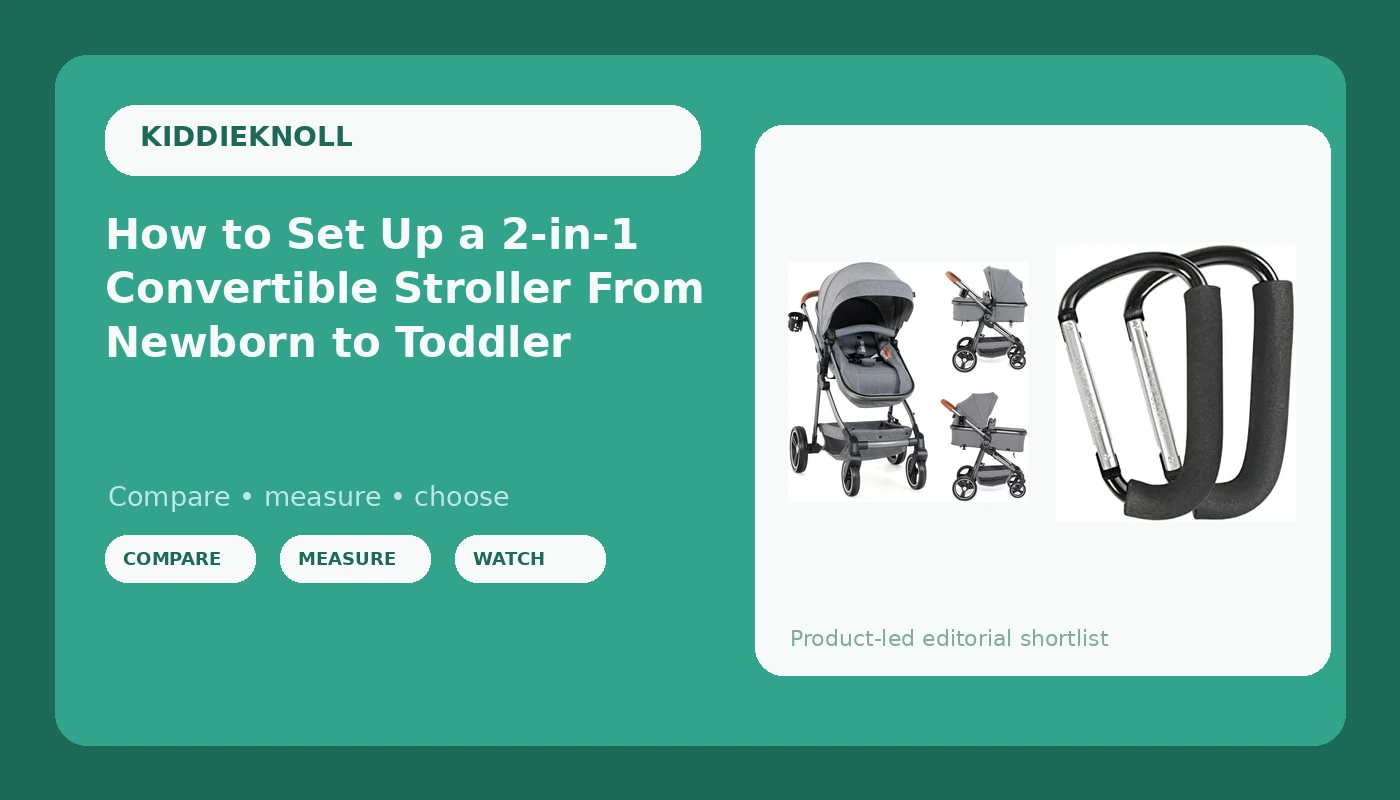
Most convertible strollers get used in exactly one configuration for the first six months and then spend the next two years annoying their owners. That is not a stroller problem. It is a setup problem. A 2-in-1 is a modular system, and the convertible stroller setup you do in the first week decides whether the thing works for you at month 30 or fights you every time you leave the house.
I have put more than a hundred strollers through the same protocol, and the pattern is boringly consistent. The parents who take twenty minutes to set the stroller up properly, check the harness, dial in the recline, and practice the fold before the baby arrives are the ones still happy with the purchase a year later. The parents who leave everything as it came in the box are the ones leaving three-star reviews about a stroller that "won't fold."
This guide is the twenty minutes, in order. It covers what to check with your own hands, what to fix before the first ride, and the two pieces of gear that make the whole setup work.
Why you should trust me
I spent nine years as a pediatric nurse on a NICU floor before staying home with my three kids in 2020, and I still keep my Oregon RN license current with per-diem shifts. That job taught me to notice small failure points before they turn into big ones, which is exactly the skill stroller shopping requires.
Since 2020 I have bought every stroller I review at retail, never a free loaner, and run the same protocol on each one: 100 timed folds with a stopwatch running, a 22-pound weighted doll over the broken sidewalk seams and gravel shoulders of my Sellwood neighborhood, folded dimensions taken with a tape measure I trust more than any spec sheet, and a luggage scale that has caught more inflated weight claims than I can count. I am past 110 strollers and 250 logged test sessions, and the spreadsheet keeps score.
How I picked and how I tested
This is not a "which stroller wins" article. It is a how-to, so the gear list is short on purpose: one stroller that covers the whole newborn-to-toddler range, and one cheap accessory that solves the cargo problem almost every parent hits by month two.
For a convertible, the things that actually decide whether you will still like it at fold #100 are not the ones on the marketing banner. They are the bassinet surface, the harness, the recline mechanism, the brake reach for a shorter parent, the pinch points around the fold joint, and the gap between the claimed weight and what my luggage scale records. A big gap between claimed and measured weight is my cheapest predictor of a build that starts rattling on gravel by month four.
Every stroller I test gets the same route: the Ellie loop, a fixed 2.1-mile circuit with broken sidewalk seams, a gravel shoulder, a 1.5-inch curb-cut lip, and a rain-slick painted crosswalk. It also gets the coffee-cup push, a one-handed run with a 16-ounce cup balanced on the bar, and the June gauntlet, thirty unsupervised minutes where my three-year-old folds, drags, climbs on, and spills on it. Survivors get marked toddler-proof. Most do not.
The two items below are what I would build this setup around, and I will tell you honestly what each one does and does not solve.
The gear this setup needs
You can do every step in this guide with any well-built convertible stroller, but the pieces below are the ones that make the workflow line up. One covers the seat and bassinet side, and one covers everything you have to carry.
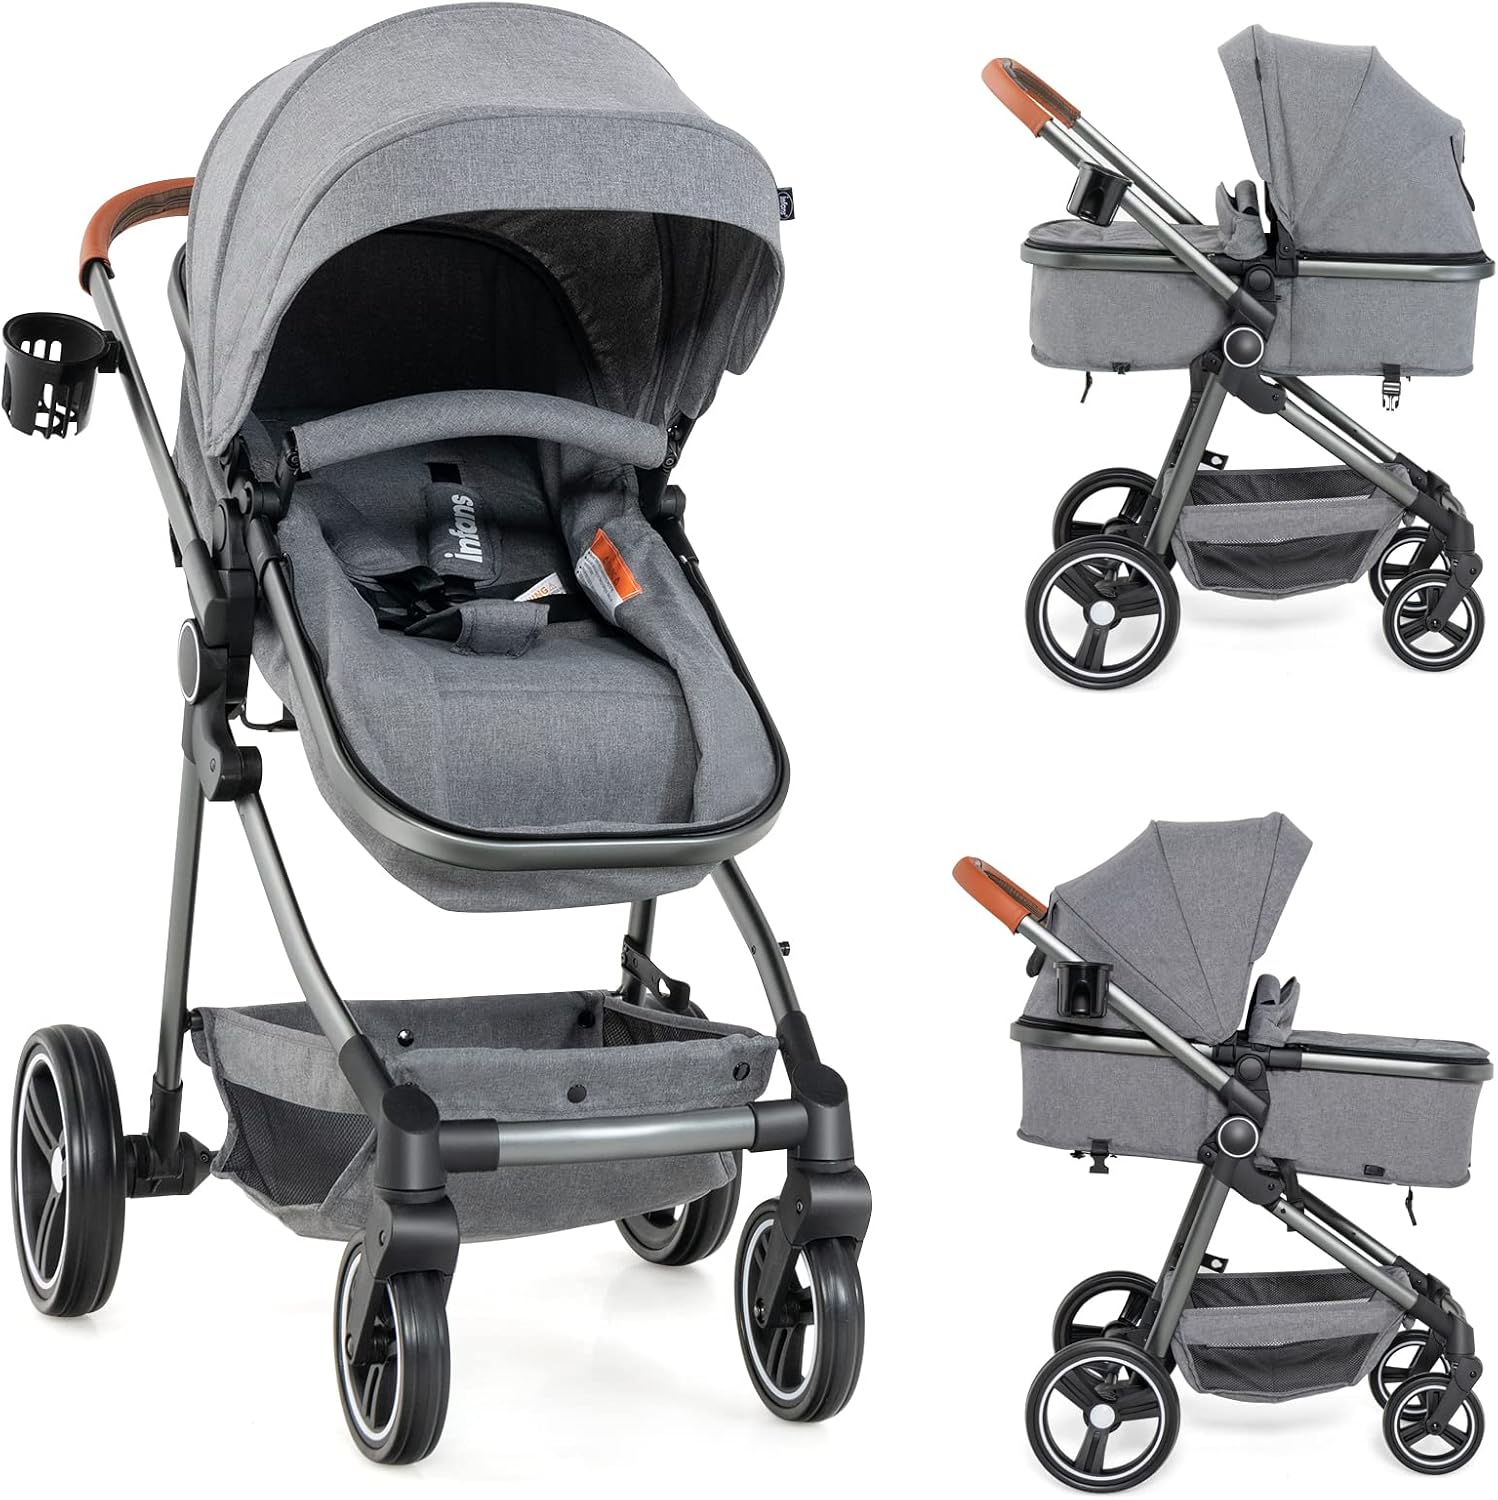
Our pick: INFANS 2 in 1 Baby Stroller, Newborn Convertible Stroller Bassinet for Infant, Foldable High Landscape Shock Absorption with Reversible Seat, Aluminum Structure for Toddler Pushchair 0-36 Month
 Visit on Amazon →
This is the piece that makes the whole 0-to-36-month plan possible in one purchase. The bassinet mode is the reason to buy a convertible instead of a toddler seat with a deep recline, and the reversible seat means the same frame carries a newborn facing you and a three-year-old facing the world. The aluminum structure is the part I care about most, because frame material is what separates a stroller you push for three years from furniture you drag around. The high landscape position keeps the seat up out of curb splash and away from exhaust height on a city street, and the shock absorption is doing real work on the kind of broken sidewalk seams I hit on every loop.
Two things to know before you order. First, this is a full-size convertible, not a travel stroller, so measure your folded space with a tape measure before it arrives rather than trusting a spec sheet. Second, plan on a two-hand fold and practice it before the baby is here, not in a parking lot in the rain. Set the bassinet up first, because that is the mode you will live in for the first months.
Flaws but not dealbreakers: Full-size convertibles are heavy by design, and heavy is the price of a stable ride with a bassinet on top. If your trunk is genuinely tiny, this is the tradeoff you are accepting.
Anyone who wants one stroller to cover newborn through toddler years, and who has a trunk that can take a full-size fold, should start here.
The add-on: Stroller Hooks, 6.3" Large Stroller Clip, 2 Pack Stroller Hooks for Hanging Bags and Shopping, Stroller Accessories for Mommy, Large Carabiner
 Visit on Amazon →
This is the cheapest upgrade in the entire setup and the one I would buy before the stroller even arrives. A 6.3-inch clip is large enough to swallow a stroller frame bar and a diaper bag strap at the same time, and you get two of them, so one can live on the frame and one can live in the diaper bag as a spare. The carabiner shape matters because it clips onto a frame with one hand while the other hand is holding a baby.
The rule with clips is simple: hang the weight low on the frame, not high on the handlebar. A bag draped across the top of the handle raises the center of gravity, and that is how strollers tip when you let go for two seconds to dig out a key. Clipped to the frame below the bar, the same bag rides along without changing the balance of the push.
Flaws but not dealbreakers: Metal carabiners will scratch a painted frame if you drag them across it, so set them where they sit rather than sliding them around. And no clip is a license to overload a stroller. If the front wheels feel light, you have hung too much.
Anyone who has ever carried a diaper bag on one shoulder while pushing with the other hand should have a pair of these on the frame.
The actual setup workflow
Now the part you came for. Do these in order, before the baby arrives if you can.
Step one: Unbox and inventory both modes. Lay out the bassinet, the seat, the frame, and the canopy. Confirm you have the bassinet mattress, the harness pads, and every click-in attachment. Missing pieces are much easier to resolve before you need them at 2 a.m.
Step two: Build the bassinet and check the surface. The bassinet goes on first, because it is the mode a newborn lives in. Press the mattress down with a flat palm. It should feel firm and flat, with no gap between the mattress edge and the bassinet wall where a small face could settle. If the surface dips or the edges gap, that is a return, not a workaround.
Step three: Set the harness before the first ride. Check the shoulder strap slots. For a rear-facing baby, the straps should come through at or below shoulder level, never above. Run your fingers down every strap looking for a twist, because a twisted strap spreads the load across a smaller area and loosens over a walk. Buckle it and check the fit at the collarbone: snug enough that you cannot pinch a fold of strap, loose enough that you can slide two fingers under it.
Step four: Dial in the recline. Flat for a newborn in the bassinet, and once you move to the seat, a deeper recline for a baby who cannot sit up unassisted and a more upright position for an older toddler. Check that the recline mechanism locks on both sides, not just the side your hand happens to reach. A one-sided lock is a pinch point waiting to happen.
Step five: Find the brake without looking. Stand where you normally stand. Reach for the brake with your foot without glancing down. If you are shorter than average and the brake sits far enough forward that you have to shuffle, that is worth knowing now. Every stroller gets parked on a sloped driveway eventually.
Step six: Fold it twenty times before you need it. This is the single highest-value twenty minutes in the whole setup. Note where your hands go, which lever releases first, and whether the stroller stands on its own once folded. A fold that needs a palm strike at fold #50 needs that palm strike at fold #1 too. Learn it now, while nobody is crying.
Step seven: Do trunk Tetris with real groceries. Measure the folded dimensions with a tape measure, then actually load it into your trunk alongside a week of groceries. Folded numbers on a spec sheet tell you almost nothing about whether a stroller shares a small trunk with a grocery run. If it only fits alone, you have learned something important before you are standing in a parking lot in the rain.
Step eight: Clip the cargo on low and test the push. Attach the clips to the frame below the handlebar, hang a loaded diaper bag, and push the stroller one-handed for a block. If the front end feels light or the bag swings into the wheels, move the weight down or forward. Then take it over your real terrain, gravel shoulder, curb-cut lip, painted crosswalk, and listen for wheel rattle and watch for wobble in the frame joint.
Common mistakes that undo a good setup
Hanging weight high. The handlebar is for hands. Cargo goes on the frame, low and centered.
Assuming the fold is one-handed because the video made it look that way. Practice with the hand you will actually have free.
Trusting the claimed weight. Put the stroller on a luggage scale if you have one. A big gap between claimed and measured weight is spec-sheet fiction, and it usually shows up later as wobble.
Skipping the harness check because the stroller came assembled. Assembled is not adjusted.
Never checking recall history. I check the CPSC and manufacturer notices before I buy anything, and again before I accept a hand-me-down. A great fold does not excuse a recall.
What this setup will not fix
It will not make a full-size convertible fit an overhead bin. If you fly often, that is a different category of stroller and a different article.
It will not smooth out gravel. Shock absorption helps on sidewalk seams and curb lips. Deep loose gravel is loud and bumpy on almost everything.
It will not replace a second stroller at grandma's house. If a caregiver takes regular shifts, a cheap second stroller is often cheaper than a car seat swap every week.
It will not rescue a stroller with an active recall. No accessory and no adjustment routine fixes that.
What this all costs
Both pieces in this setup sit in the budget-to-mid range for what they are. Check current Amazon price on the INFANS convertible and check current Amazon price on the stroller hooks, then do the math the way I do it: cost divided by days of use.
The hooks are the cheapest part of the whole equation and the one you will notice every single day. The stroller is the bigger number, but a single convertible that covers newborn through 36 months replaces buying a bassinet stroller now and a toddler stroller in two years, plus the storage space for both. That is the comparison that matters, not the sticker against a cheaper stroller that only does one job.
The bottom line
A 2-in-1 convertible is not a stroller you buy and use. It is a stroller you set up, and the setup takes one afternoon. Build the bassinet first, set the harness with your own hands, learn the fold before you need it, do trunk Tetris with groceries, and hang your cargo low on the frame instead of high on the bar.
Do that, and the same stroller that carries a newborn in a bassinet will still be the one you reach for when that baby is a three-year-old who wants to face forward and see everything. That is the whole point of buying a convertible. Set it up like one.